
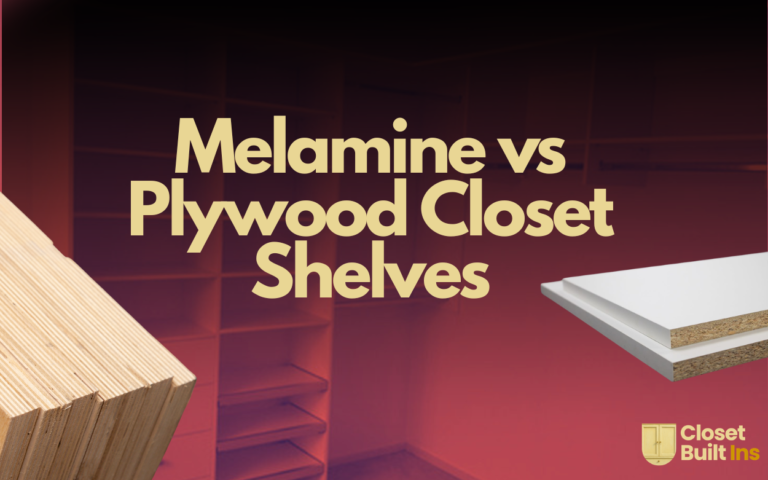
When deciding between melamine vs plywood closet shelves, you are ultimately choosing between maximum structural strength and your own free time.
The Spec Sheet
- Cost Per 4×8 Sheet (Average): Melamine ($35–$45) | 3/4″ Cabinet-Grade Plywood ($60–$80)
- Max Unsupported Span (Sag Limit): Melamine (32 inches) | Plywood (36+ inches)
- Finishing Required: Melamine (None—ready to install) | Plywood (Sanding, edge banding, primer, paint)
- Weight: Melamine is significantly heavier per square foot than plywood.
Walk into a big-box hardware store, and you will see endless stacks of both materials. Most high-end woodworkers scoff at melamine, claiming plywood is the only way to build. But if you blindly follow that advice, you might accidentally triple your project timeline. Here is the objective data on both.
The Weight Capacity and “Sag” Math
The core difference between these two materials is how they handle gravity over a distance.
Melamine is essentially sawdust and glue (particleboard) wrapped in a hard plastic shell. It has very little lateral strength. If you build a shelf wider than 32 inches without a middle support bracket, melamine will permanently bow in the middle under the weight of a stack of denim jeans.
Plywood is made of thin layers of real wood glued together in alternating grain directions. This cross-graining makes it incredibly rigid. A 3/4-inch piece of birch plywood can easily span 36 to 42 inches without visibly sagging. If you are building extra-wide shelving sections without vertical dividers, plywood is structurally mandatory.
The Contractor Trap: The Hidden Labor of Plywood
Here is the shared misery of every beginner who chooses plywood because it is “higher quality.”
When you cut a sheet of melamine vs plywood closet shelves, you get two very different edges. A cut piece of melamine has a raw particleboard edge, which you simply cover with a cheap, iron-on edge banding. You are done in two minutes.
When you cut plywood, you expose the ugly, layered veneers. To make it look like a high-end built-in, you have to:
- Apply iron-on wood edge banding.
- Sand the edges flush so they don’t snag your clothes.
- Apply a high-quality, stain-blocking primer (because wood knots will bleed through cheap paint).
- Apply two coats of expensive urethane enamel paint.
- Wait three days for it to cure so your clothes don’t stick to the shelves.
Plywood doubles your material cost and quadruples your labor time.
Durability Against Wear and Moisture
Melamine’s hard plastic shell is virtually frictionless. You can slide heavy plastic storage bins across it a thousand times, and it will just wipe clean. However, if a roof leak hits particleboard, it will swell up like a sponge and permanently explode.
Painted plywood handles moisture much better. But unless you spray a factory-grade lacquer in a clean room, sliding rough plastic bins across DIY-painted plywood will eventually chip the paint and leave scrape marks.
The Final Verdict on Melamine vs Plywood Closet Shelves
If you are framing standard 18-inch to 30-inch wide cubbies and want the project done this weekend, use 3/4-inch melamine. It is cheaper, faster, and perfectly engineered for standard clothing storage.
If you are building massive 40-inch wide spans, outfitting a garage where you will store heavy tools, or doing a luxury stained-wood build, bite the bullet and buy the 3/4-inch plywood. Just factor the sandpaper, primer, and paint into your budget.